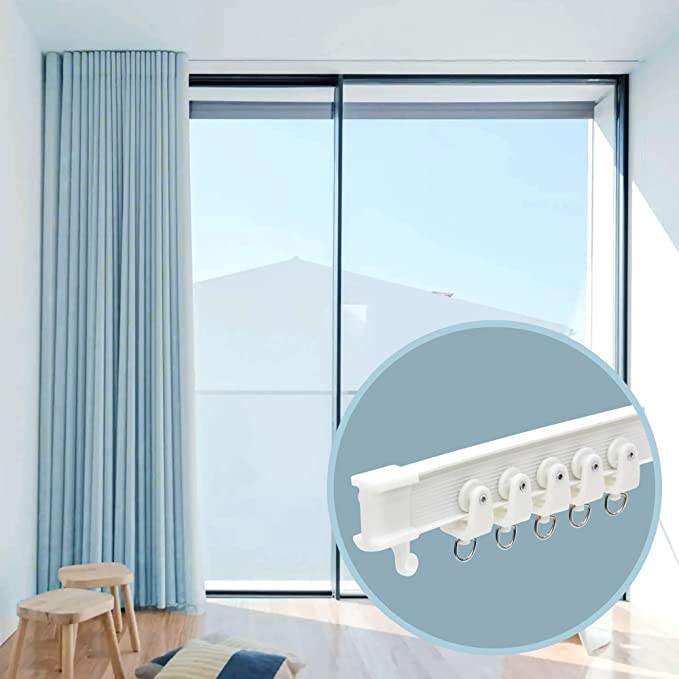
A Foolproof Guide: How to Install Manual Curtain Tracks Like a Pro
Share
Avoid common mistakes! Our step-by-step guide will show you how to install manual curtain tracks perfectly the first time. Get professional results with our expert tips and tools.
how to install curtain rods, DIY curtain rod installation, curtain rod mounting tips, window treatment installation, home improvement DIY
There's nothing quite like the feeling of hanging new curtains and seeing a room come together. But that feeling can quickly turn to frustration if your curtain tracks are crooked, unstable, or poorly positioned. A successful installation is the foundation for a beautiful and functional window treatment.
Fear not! This comprehensive guide will walk you through how to install manual curtain tracks like a seasoned professional, ensuring a flawless finish that elevates your entire space.
What You'll Need: Your DIY Toolkit
-
Your [Your Brand Name] Curtain Track & Hardware
-
Stud Finder
-
High-Quality Tape Measure
-
Level (A 2-foot level is ideal)
-
Pencil
-
Electric Drill with Drill Bits (for wood and masonry if needed)
-
Screwdrivers
-
Ladder
Step-by-Step Installation Guide
Step 1: The Golden Rule: Measure Twice, Drill Once
Precision is everything.
-
Determine Bracket Placement: For a dramatic, modern look, mount the brackets 4-6 inches above the window frame. For a standard look, 2-4 inches above is common.
-
Width: The track should extend 3-6 inches on each side of the window frame. This allows curtains to be pulled completely clear, maximizing natural light.
-
Mark Bracket Locations: Use your pencil to lightly mark the exact spots for your brackets. Ensure they are level and equally spaced from the window frame.
Step 2: Locate Support for a Rock-Solid Hold
This is the most critical step for preventing sagging.
-
The Ideal Scenario: Use a stud finder to locate the wooden wall studs above your window. Mounting your brackets directly into studs provides the strongest possible hold.
-
Plan B: Using Drywall Anchors: If the studs don't align with your bracket marks, you MUST use drywall anchors. Our tracks include heavy-duty anchors designed to hold significant weight securely in drywall. Never rely on screws in drywall alone!
Step 3: Drill Pilot Holes & Mount Brackets
-
Drill pilot holes at your marked points using a drill bit slightly smaller than your screw or anchor.
-
If using anchors, tap them gently into the holes until they are flush with the wall.
-
Align your first bracket with the pilot hole and drive the screw in firmly with a drill or screwdriver. Repeat for all brackets.
Step 4: Attach the Track and Test
-
Carefully lift your track and click or slide it into the mounted brackets.
-
Double-check that all locking mechanisms on the brackets are engaged.
-
Before hanging your curtains, give the track a gentle pull and test the glide of the curtain gliders. It should feel smooth and secure.
Step 5: Hang Your Curtains and Admire Your Work
-
Attach your curtain panels to the gliders or hooks.
-
Arrange the curtains evenly and step back to admire your professional-looking installation!
Pro Tips & Common Mistakes to Avoid
-
Don't Skip the Level: "Eyeballing" it almost always leads to a crooked rod. Always use a level.
-
Account for Fullness: If you have heavy blackout or thermal curtains, ensure your brackets and anchors are rated for the weight.
-
Use the Right Hardware: The hardware provided with our tracks is specifically chosen for its strength. Using subpar substitutes can lead to failure.
Make Installation Effortless with [Your Brand Name]
We take the guesswork out of DIY. Every [Your Brand Name] Manual Curtain Track comes with a detailed, easy-to-follow guide, all necessary high-strength hardware, and a custom cutting guide for a perfect fit.
Ready for a stress-free installation?


